
Samples and labels
Samples and sample numbers
Add a sample, mark it for testing, and learn why a sample number is never used twice.
Open a borehole and choose the Samples tab. It says: "Switch on the ones the lab should test."
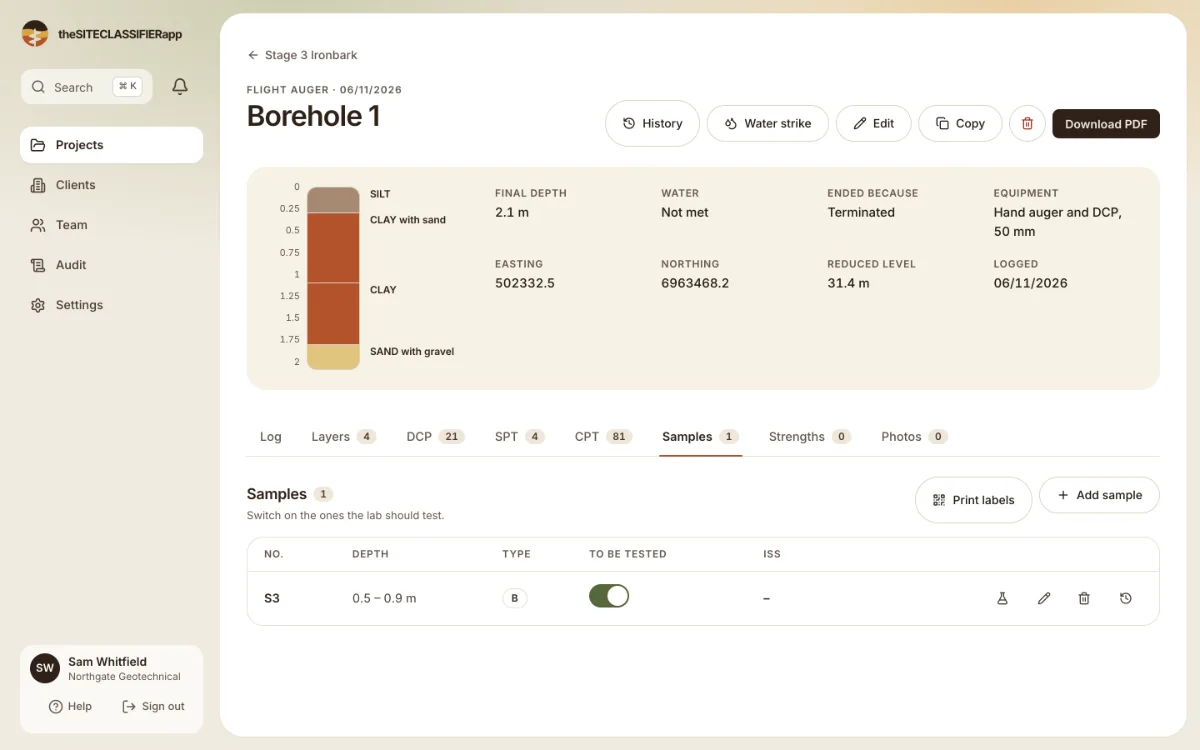
Add a sample
- Press Add sample.
- Choose the Sample type: B, C, D, SPT, U50, U63, U75 or V.
- Fill in From (m) and To (m). To must be the same as From, or deeper.
- Press Add sample.
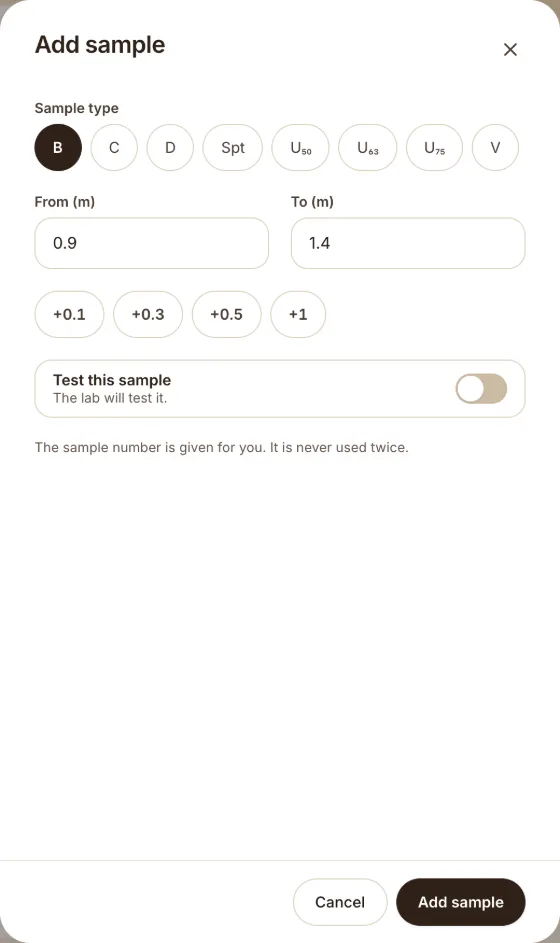
The form tells you: "The sample number is given for you. It is never used twice."
The sample number
The server gives the number when the sample is made. It counts up for your whole company: 1, 2, 3 and so on. You cannot type it or change it.
A number is never reused. If you delete sample 2 of 3, the next new sample is 4, not 3. This keeps lab paperwork safe. A label that says "Sample 3" always means the same sample.
Mark samples for testing
Each sample has a switch called "Sample N to be tested". Switch it on for the samples the lab should test. The project Samples tab lists the samples of every hole.
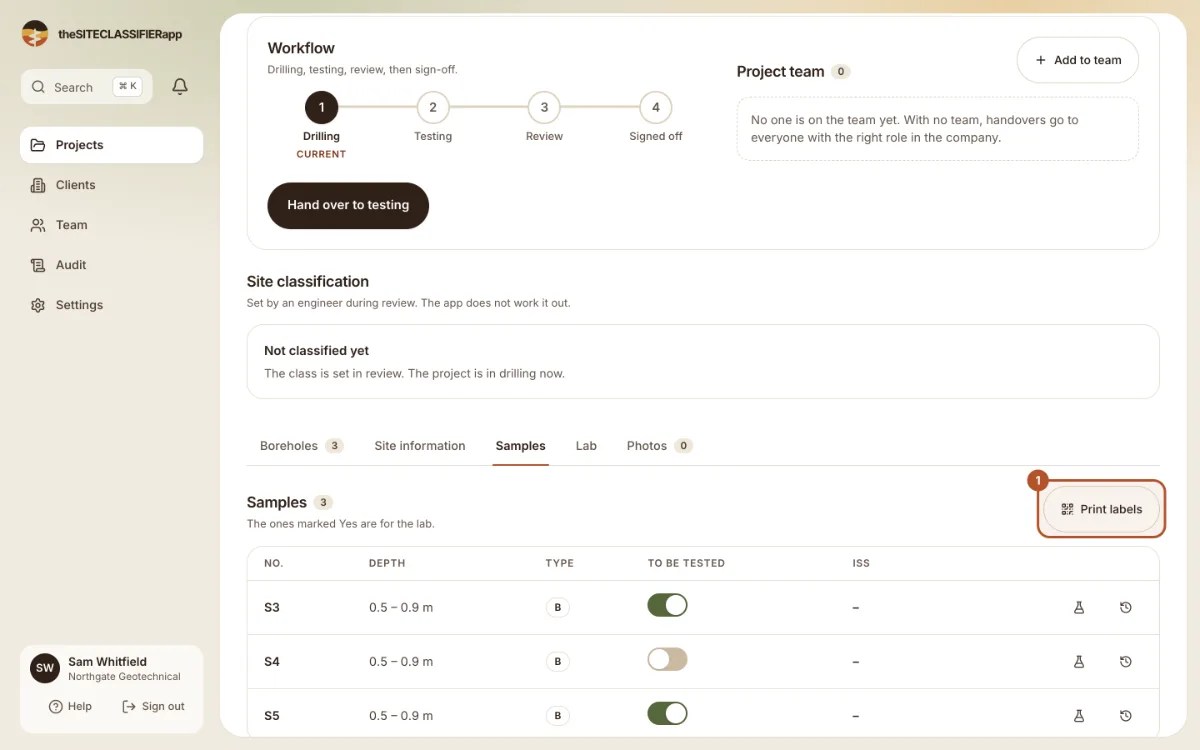
Then the lab can enter results. See Lab tests and lab reports.
Edit or delete
Use the edit and delete buttons on the row. The edit form is called Edit sample N.
Was this helpful?
Still stuck?
Tell us what happened. We will see which article you were reading.